(last updated 11-4-01)
I would like to thank Bill Wiecking, (his website) I had some airport issues and he helped me solve them the cheap and inexpensive way.
However, I shared his concerns about the lower temperature replacement parts (the originals being almost impossible to find) and thus resulting in the absolute, undeniable and undesirable case of having to repeat this procedure somewhere down the road when it is most inconveniant (Murphy's law). I have better things todo than being tied down with a leash and a down wireless network is more aggrevating than anything-else when you know exactly what the problem is.
Alright, cut to the chase. The problem I had was that the capacitors inside the airport had overheated and became un-reliable (denial of service). I cured this by replacing them with similair parts, but the replacemant parts do not share the same high temperature rating as those from the original maufacturer. SO, I took this one-step further and added a 12v DC fan to the inside of the airport and replaced the bad cap's without having to permanently remove any functional components. This leaves the airport completely useful and intact, it voids the warranty, but who cares after it's up? This is after all, when all used-to-be warranteed things die..
After I made these modifications, the airport is running once again like it should, except, now it is warm to the touch, just enough to let you know it's running, but it isn't the same hand palm sweating 'hot' that you are used too. The range doesn't seem to be affected, but I use these airport's in a reletiveley open environment anyway. I'm not suggesting that the range is affected, but that I cannot find through everyday use, any degradation of service.
This process is not for those with doubts in their own abilities of dremmel tool cutting, de-soldering, soldering, hotgluing and drilling. This will void your warranty and I share this information with you as an educational and informative article. All the images are clickable for a 640x480 larger scale viewable image.
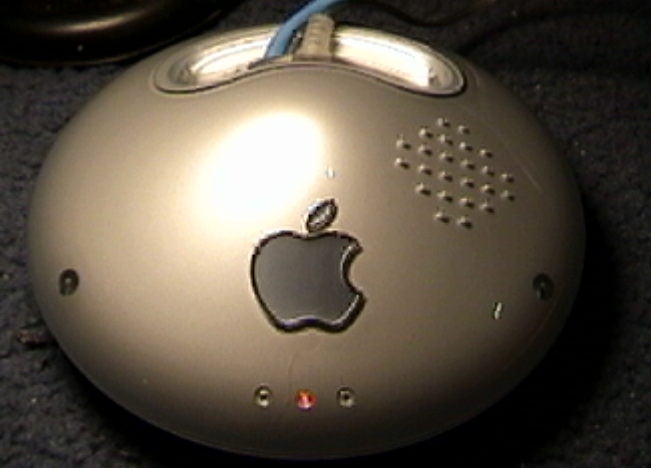
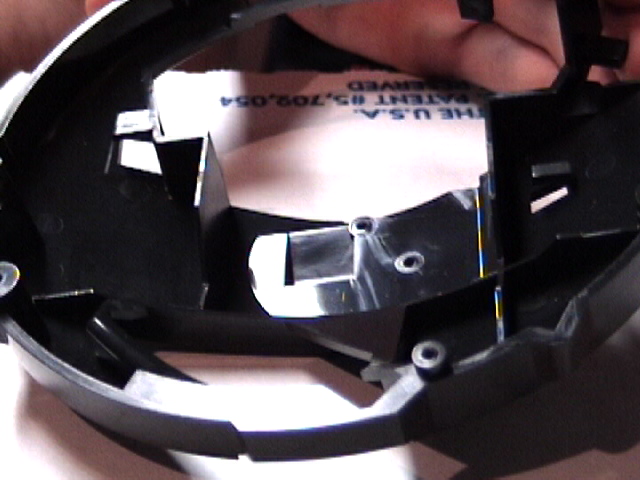
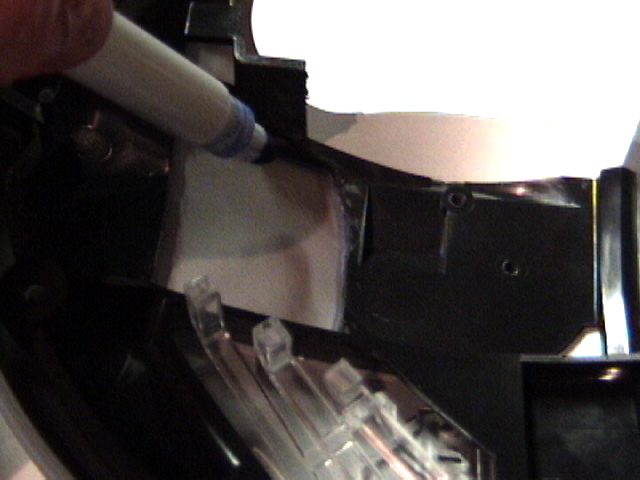
This is the the area of the airport that we will be working in.
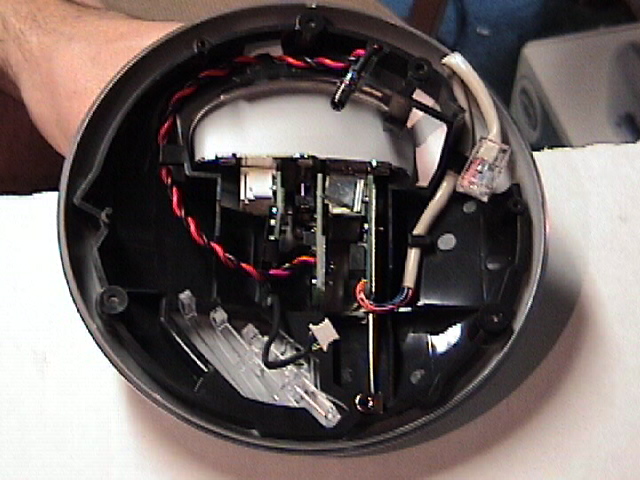
This is the area that we will be modifying to accomodate the fan.
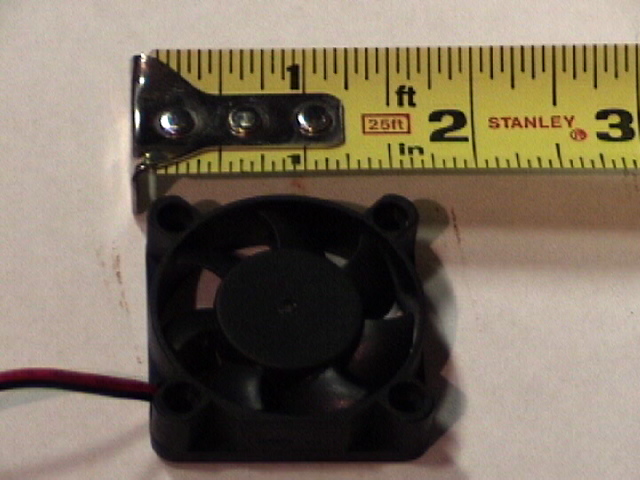
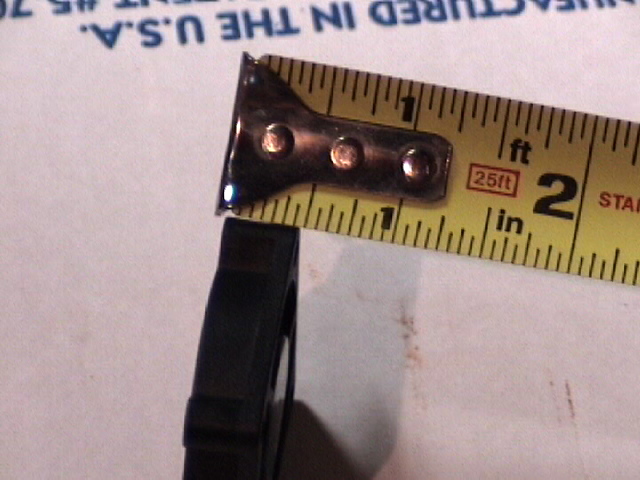
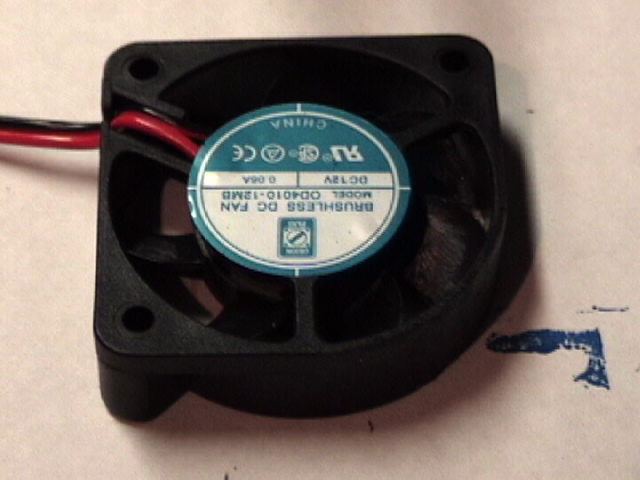
Measurements of the fan that we will be using is 1.5inches wide by just under .5inches thick
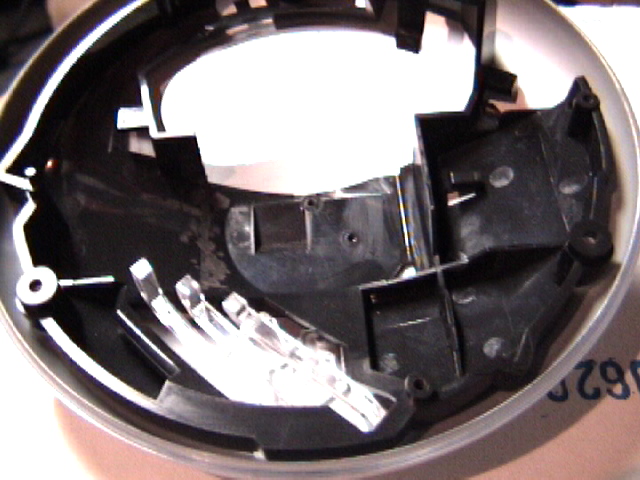
This picture shows where we will be cutting too:
a: make room for the fan
b: give it a place to direct the airflow towards the outside of the cover through vent holes to the top of airport enclosure that we will later drill.
This illustrates the partition I cut out using my trusty dremmel tool.
The fan out of the wrapper does not fit inside the airport enclosure even though we made room for it, it is still a little to thick and we need to make it slide upward into the top dome portion of the airport, (this will enable you to screw the airport back together as if nothing ever happened) so I shaved the corner of the fan off. You can shave away plastic all day, but I wasn't removing components and rendering the airport less optionless, this also happened to work out very well.

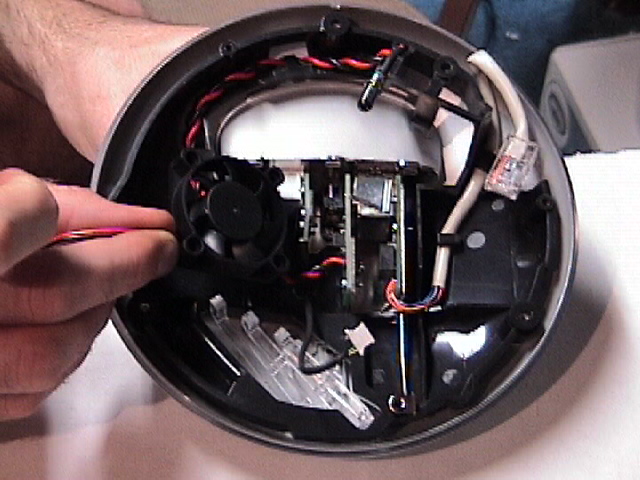
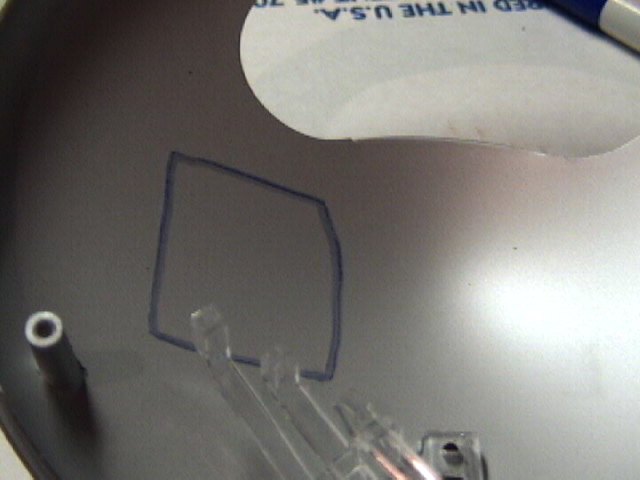
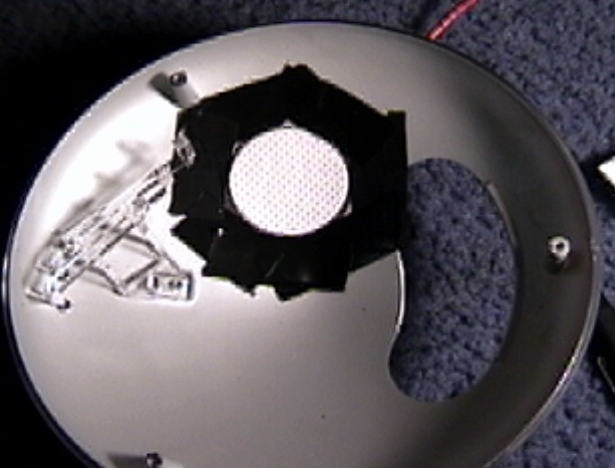
The fan being test fitted before we hotglue this baby down. Make sure that you know which way your fan blows before hotgluing, we want the air to move out through the top of the airport. We still need to draw a template onto the outer casing of the airport, this ensure's that we will be drilling the vent holes in the proper location. X marks the spot.
I located the target venthole area by tracing the outline of the cut out I made on the inner black plastic anchor holder. One thing to remember is that the airport is spray painted on the inside to give it's color and scratches very easily, I mean very easy.
This is obviously what I was left with.

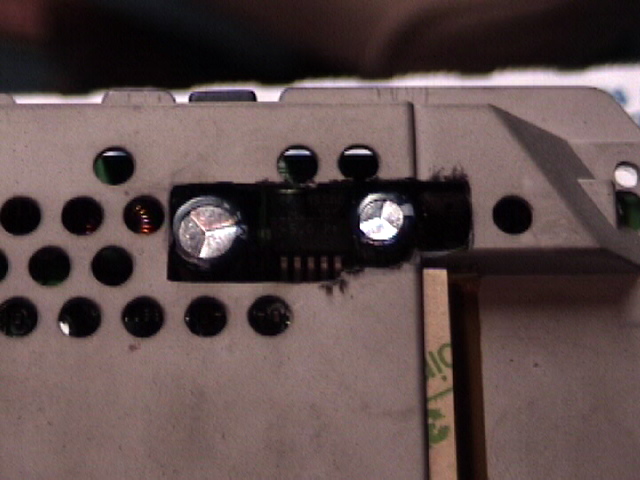
These are the two capacitors I replaced (c51 on the left and c52 on the right) and knowing we need to ensure better ventilation, I cut the top of the case componant holder out to allow this- seen below.

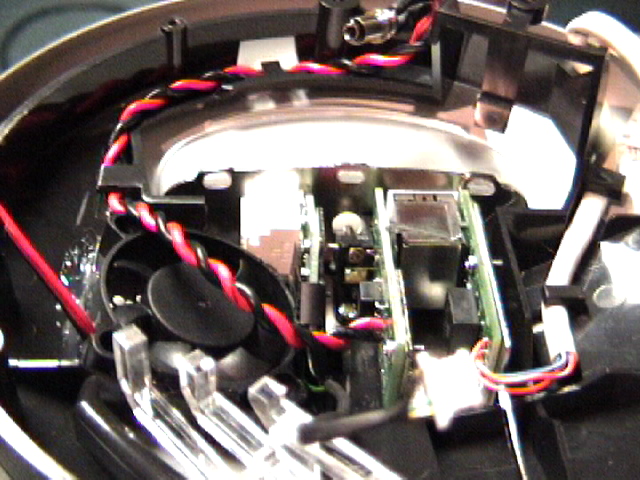
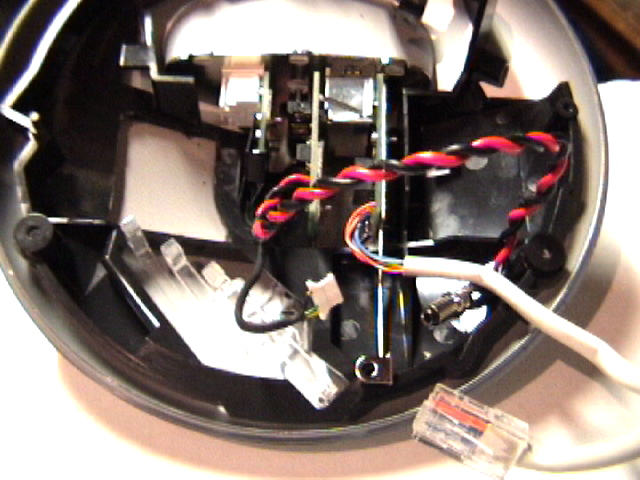
With all that done, this shows the final placement of the new fan, all you have todo now is solder the fan leads to the input source of the power supply inside the airport. The power supply for the airport is 12v DC which accomodates well to the new low power consumption fan nicely. How nice of these 2 items to be properly color coded.
The next step is getting the air to the outside of the airport, this file is what I used, (adobe PSD document) print it out. After printing the template out, cut out around the outline of the picture and then tape it down to the inside of the outside casing of the airport. This is easy, by holding the casing to a light source to make sure you get the template in the proper preferable position inside the box that we traced earlier, tape it down (this obviously ensures that the fan alignment will be matched with the fan exhaust holes we are about to make).
Make sure the paper is firmly against the plastic shell, as a gap between the paper and casing without a steady hand can have bad results. This is because of the illusion that the drill bit is acually drilling plastic at the moment you hit the paper dot, so you tend to loosen your grip which results in uneven spacing of holes. Plastic is soft when hit with a drillbit, especially when the plastic is thin, so waste no time as the drill bit can actually carve...
So find a really tiny drill bit and hit the black dots with a steady hand. If you have the luxury of a drill press, or a hand drill, I would highly suggest using that.
Now that I have created an exhaust side, we need to create a fresh air intake to come into the airport, this was obviously easy, drill some big holes on the bottom side of the airport that sits closest to the table or shelf or whatever.
Plug the airport in and you will now have fresh cool air coming through the bottom and exiting the top.
Hope this was helpful and if you have any ideas, suggestions, tips or tricks, let me know and I'll update this page.
Jim Waskowich
Jim@Chronomedia.com